Proper maintenance of tablet dies and punches can double or triple their useful life. Yet many manufacturers treat tooling as disposable — running it until tablets fail quality checks, then replacing the entire set. This approach wastes money and causes unnecessary production downtime.
A proper maintenance program extends tooling life by 2—3x, reducing your annual tooling costs by 50—60%. Beyond cost, well-maintained tooling produces better tablets — consistent weight, uniform hardness, smooth surfaces, and fewer defects.
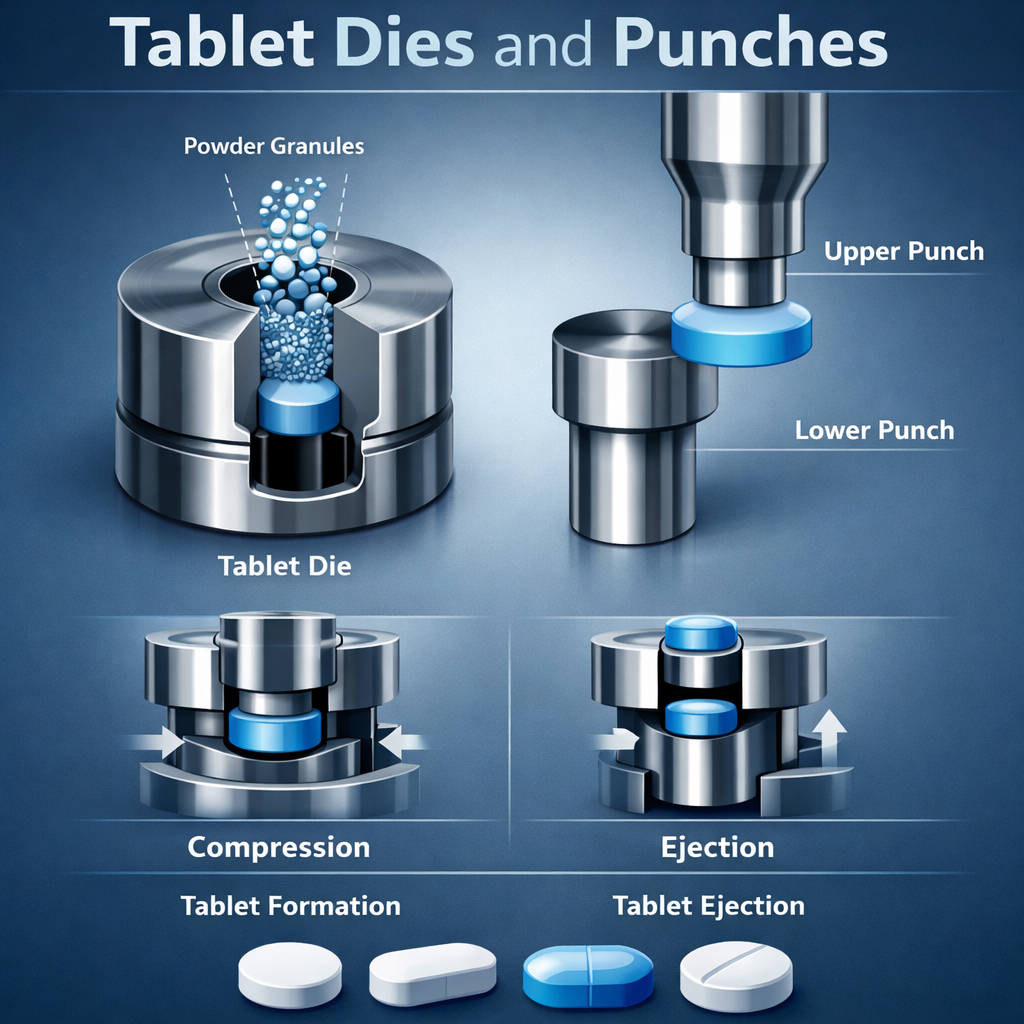
Daily Maintenance — After Every Production Run
- Remove tooling from the press — Never leave tooling in the press overnight. Residual powder absorbs moisture and causes corrosion.
- Clean all tooling — Wipe each punch with a clean, lint-free cloth. Use isopropyl alcohol or a dedicated tooling cleaner for stubborn residue. Clean die bores using a die bore brush or compressed air. Never use abrasive materials on punch tips.
- Inspect for damage — Check die bores for scratches, look for corrosion on barrel surfaces, visually inspect each punch tip for wear, chipping, or scoring.
- Lubricate — Apply a thin film of food-grade or pharmaceutical-grade tooling oil to all surfaces. Do not over-lubricate — excess oil attracts dust and can contaminate the next production run.
- Store properly — Place tooling in dedicated storage trays or racks. Store in a dry, temperature-controlled environment. Keep upper punches, lower punches, and dies organized by station number.
Weekly Maintenance — Detailed Inspection
- Punch tip inspection: Use a magnifying glass or loupe (10x magnification). Look for micro-chipping, wear rings, surface roughness, embossing wear. Uneven wear across the set indicates press alignment issues.
- Die bore measurement: Measure die bore diameter using a bore gauge or pin gauge. If bore diameter exceeds tolerance (typically +0.05mm), the die needs replacement.
- Barrel inspection: Check punch barrels for scoring or galling. Light scoring can sometimes be polished out; deep scoring requires replacement.
- Head inspection: Check punch heads for wear from compression roller contact. Head wear is normal but should be monitored.
Lubrication Best Practices
What to use: Pharmaceutical-grade tooling oil (mineral oil based). Food-grade lubricant for confectionery tooling. Never use WD-40, motor oil, or general-purpose lubricants — they can contaminate products.
How much: Less is more. A thin, even film is sufficient. Excess oil attracts dust, can contaminate products, and causes powder to stick to tooling during the next run. Wipe off excess oil before installing tooling in the press.
Storage Guidelines
- Temperature: 15—25—C, humidity below 60% relative humidity
- Dedicated tooling trays with individual slots for each punch
- Label each tray with product name, tooling set number, and date
- Keep upper and lower punches in separate trays
- Rotate stock — use oldest tooling first (FIFO)
- Never store tooling loose in a drawer or box — tips will chip
Common Maintenance Mistakes
- Leaving tooling in the press overnight — moisture causes corrosion
- Using abrasive cleaning materials — steel wool and sandpaper destroy the surface finish
- Skipping lubrication — bare metal corrodes quickly, especially in humid climates
- Over-lubricating — excess oil contaminates products and attracts dust
- Stacking punches without protection — tips chip and scratch each other
- Ignoring early wear signs — small chips become big problems quickly
When to Replace Tooling
Replace immediately if: Punch tip is visibly chipped or cracked, die bore is scored or scratched, punch barrel is bent or galled, tablet weight variation exceeds specification despite press adjustments.
Replace soon if: Die bore diameter exceeds tolerance by more than 0.03mm, punch tip shows a visible wear ring, embossing is becoming shallow or unclear, tablet surface finish is deteriorating.
Maintenance Checklist
| Frequency | Tasks |
|---|---|
| After every run | Remove, wipe clean, clean with solvent, inspect tips, apply tooling oil, store in trays |
| Weekly | Magnified tip inspection (10x), die bore measurement, barrel check, head wear assessment, update tooling log |
| Monthly | Full dimensional inspection, compare wear across sets, order replacement tooling for worn sets |
Conclusion
A consistent maintenance program is the single most cost-effective investment in your tablet manufacturing operation. Clean, inspect, lubricate, and store your tooling properly after every run, and you will see significantly longer tooling life, fewer tablet defects, and lower annual tooling costs.
EMMKAY INDUSTRIES manufactures precision tablet dies and punches designed for long service life. Contact us for tooling that performs — and maintain it well to get the most from your investment.