Tablet defects cost manufacturers time, materials, and money. While formulation and press settings are often blamed first, worn or damaged tooling is frequently the root cause. Identifying tooling-related defects early prevents batch rejections and production downtime.
Key rule: If a defect occurs on specific stations only, the tooling at those stations is almost certainly the cause. If it occurs on all stations, check formulation and press settings first, then tooling.
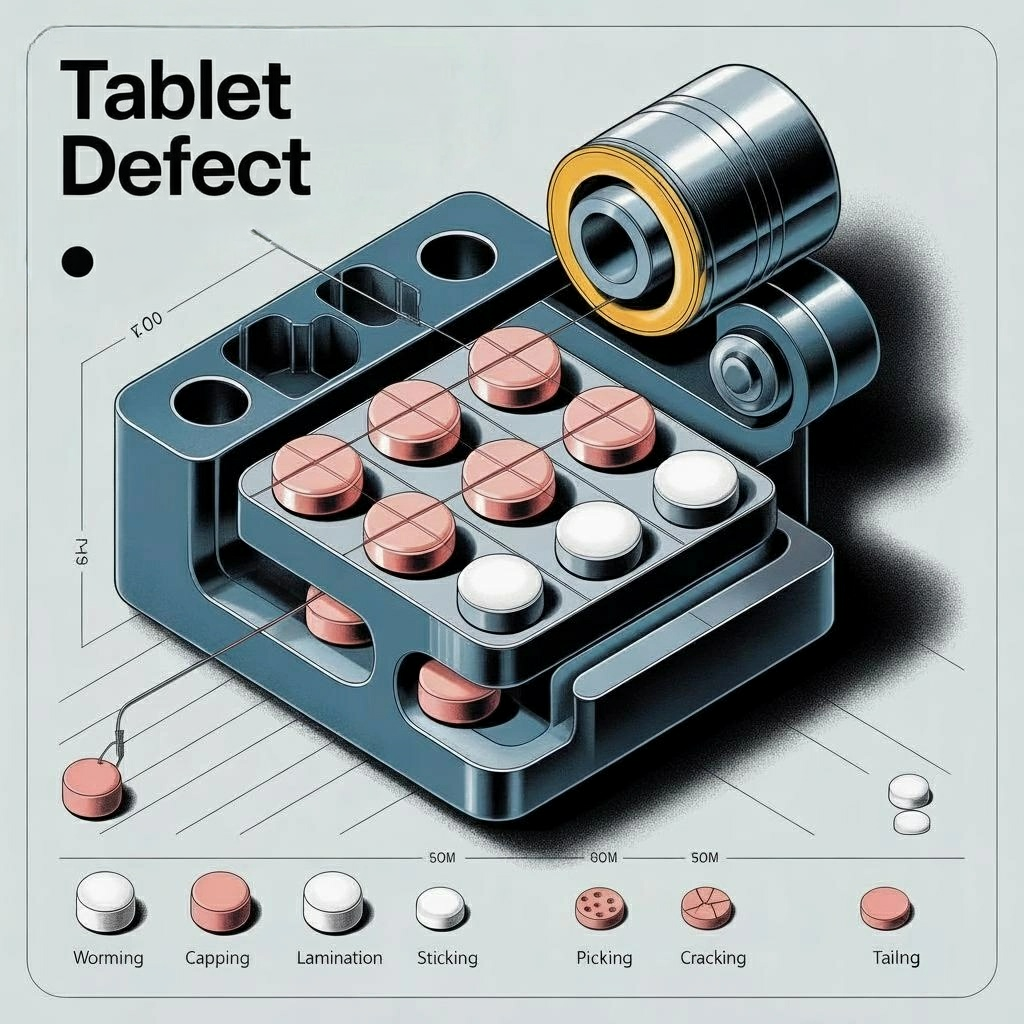
Sticking and Picking
What it looks like: Sticking — tablet material adheres to the punch face, leaving a rough or incomplete tablet surface. Picking — small amounts of material are pulled from the tablet surface, leaving pits or marks, especially in embossed areas.
Tooling causes: Rough or worn punch tip surface, damaged or scratched punch tip, worn embossing creating undercuts where material gets trapped, loss of coating (chrome, DLC) exposing bare steel.
Corrective actions: Polish punch tips to restore smooth surface finish (temporary fix). Apply DLC or chrome coating to punch tips. Replace worn punches if surface cannot be restored.
Capping
What it looks like: The top or bottom layer of the tablet separates partially or completely from the tablet body — a "cap" lifting off the tablet surface.
Tooling causes: Worn punch tip edges (bevels worn away), excessive cup depth from tip wear, worn die bore allowing air entrapment, mismatched upper and lower punch tip profiles.
Corrective actions: Replace punches with worn tip edges. Ensure upper and lower punch cup depths match within specification. Replace dies with worn bores. Consider beveled-edge punch tips.
Lamination
What it looks like: The tablet splits into horizontal layers. Similar to capping but the separation occurs within the tablet body.
Tooling causes: Worn die bore allowing excessive air entrapment, worn punch tips changing the compression profile, scored die bore creating friction, misaligned punches (bent barrels).
Corrective actions: Replace dies with worn or scored bores. Replace punches with bent barrels. Ensure proper die bore taper. Check and correct punch-to-die alignment.
Weight Variation
What it looks like: Tablets from the same batch have inconsistent weights, exceeding pharmacopeial limits (typically —5% for tablets over 250mg).
Tooling causes: Worn die bores (different bore diameters across stations = different fill volumes), worn lower punch tips (different cup depths), inconsistent punch lengths (worn heads), binding punches (scored barrels).
How to confirm: Weigh tablets from individual stations — if specific stations consistently produce heavy or light tablets, those tooling sets are worn. Measure die bore diameters across all stations.
Corrective actions: Replace dies with bore diameters outside tolerance. Replace punches with worn tips or heads. Ensure all punches in a set have consistent overall length (within 0.02mm).
Tablet Hardness Variation
Tooling causes: Worn punch heads receiving inconsistent compression force from rollers, worn punch tips with different cup depths across the set, binding punches not reaching full compression position.
Corrective actions: Replace punches with worn heads. Ensure consistent cup depth across all punches in the set. Address weight variation first — weight directly affects hardness.
Surface Defects (Rough, Dull, or Marked Tablets)
Tooling causes: Scored die bore transferring marks to tablet edge, worn or chipped punch tip edges creating ring marks, corrosion pits on punch tips transferring to tablet surface.
Corrective actions: Polish punch tips to restore surface finish. Replace dies with scored bores. Replace punches with chipped edges. Improve tooling maintenance to prevent corrosion.
Chipping and Edge Defects
Tooling causes: Worn punch tip edges (bevel worn away), worn die bore edge (chamfer worn away), chipped punch tips transferring defects to tablets.
Corrective actions: Replace punches with worn or chipped edges. Replace dies with worn bore edges. Consider beveled-edge punch tips for formulations prone to chipping.
Prevention — Maintenance Schedule
The best way to prevent tooling-related defects is a proactive maintenance program. See our complete tablet dies and punches maintenance guide for detailed procedures.